Web application
ASTROLAB in the browser
The Web application is the hosted ASTROLAB workspace: Design (3D / 2D), Dashboard, the Mission Tree, Properties, and the Engineering Portal. Analyses run in STELLOR’s cloud on the same mission model as Desktop.
Open Web App · Account and access · Create your first mission
Sign in
- Open https://astrolab.stellor.space.
- Create account or Sign in. New accounts confirm by email, then start a 7-day Trial (no credit card).
- You land in Design: Mission Tree on the left, scene in the centre, Properties on the right.
Trial limits (12 h scenario, 120 s minimum step, one cloud mission, and so on) are listed under Account and access. When you hit a cap, the product explains what to change or when to upgrade.
Design workspace (wide screens)
From about 1100 px width you get the three-column IDE:
| Column | What it is for |
|---|---|
| Mission Tree | Structure of the mission. Right-click to add or remove assets and to run analyses. |
| Centre | Design (Cesium 3D / 2D) or Dashboard (plots and reports). |
| Properties | Editor for the selected scenario or asset. Apply Changes writes the update into the mission and the scene. |
At the top of the app, Design / Dashboard switches the centre view without leaving the mission.
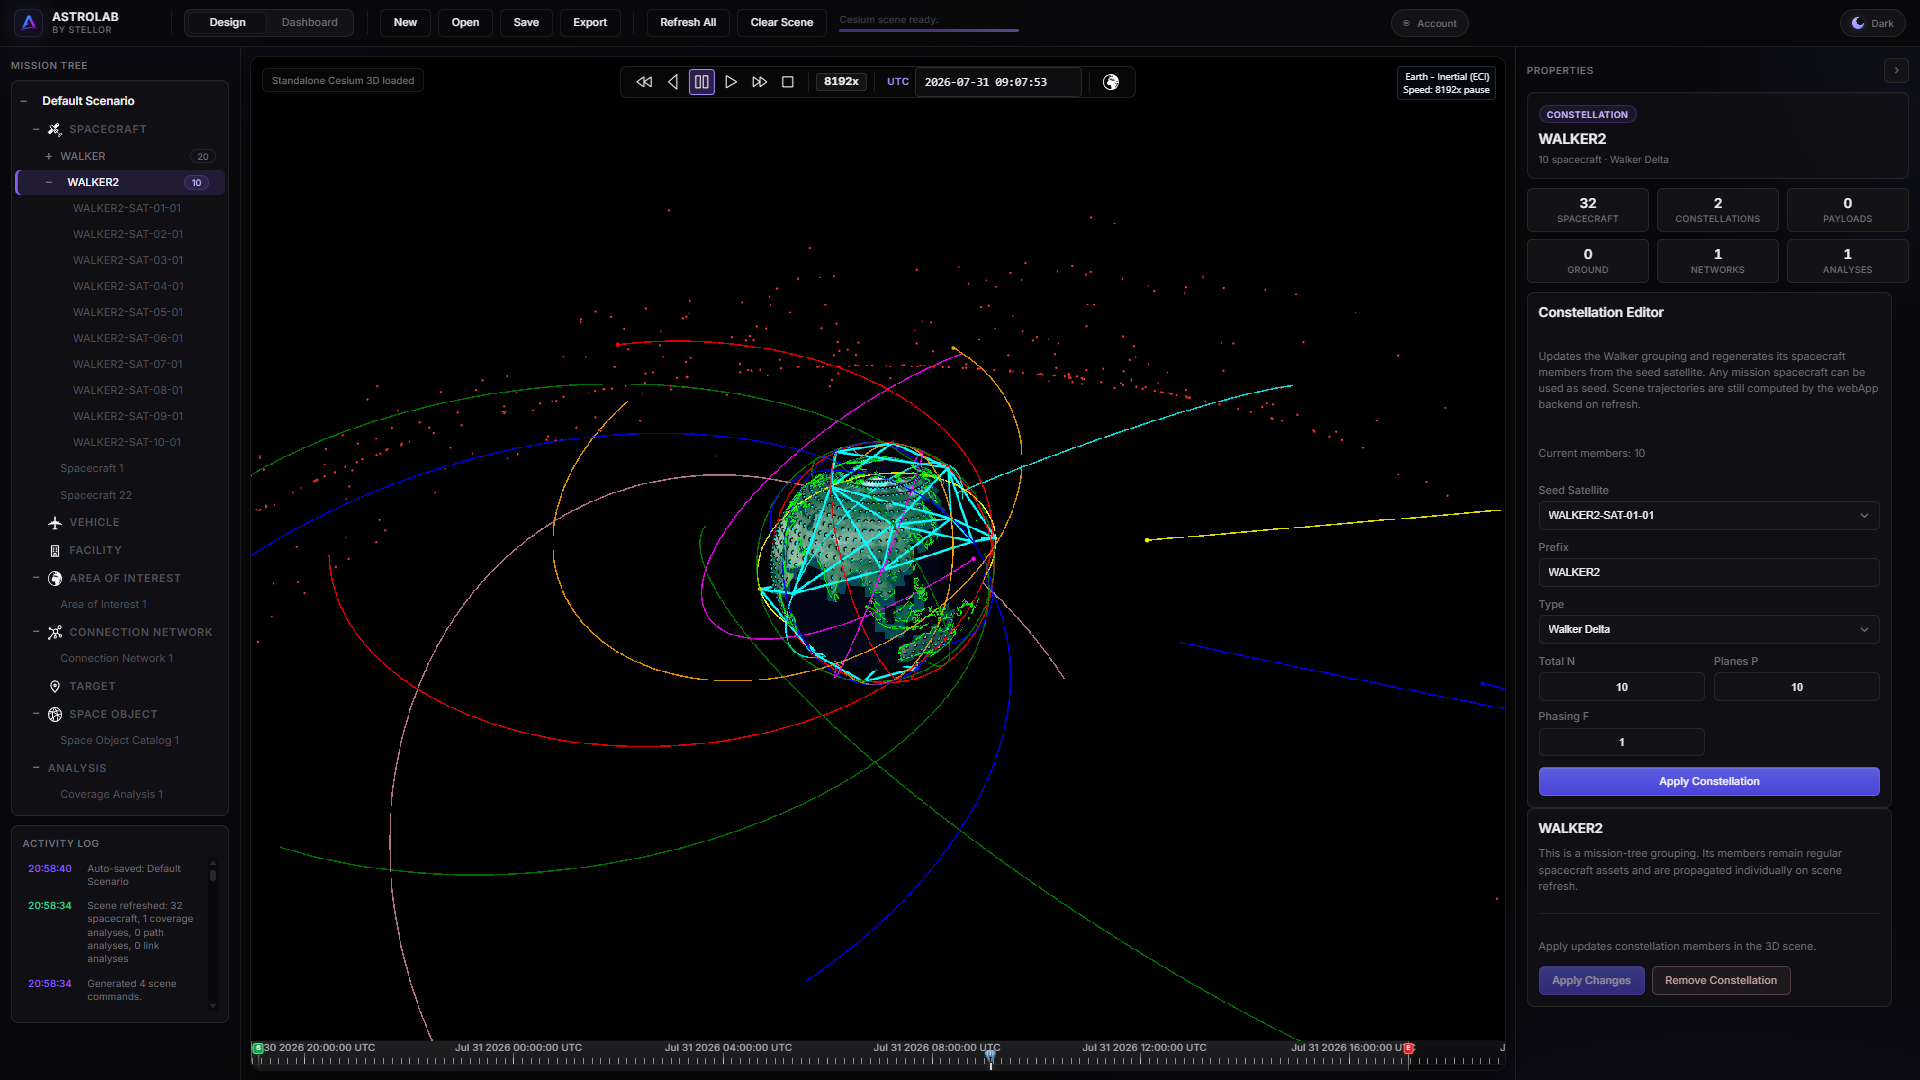
Design on a wide screen — tree, live scene, and properties.
Tablet and phone
Below 1100 px the layout becomes a single primary view at a time:
- 3D / 2D scene
- Dashboard (Reporting)
- Assets (Tree or Properties)
- Engineering Portal
Open the menu to switch. On touch devices, tree rows expose a ⋯ menu for add / remove / run, because right-click is awkward. Prefer landscape for the globe. Widen the window and the three-column workspace returns — there is no separate mobile site.
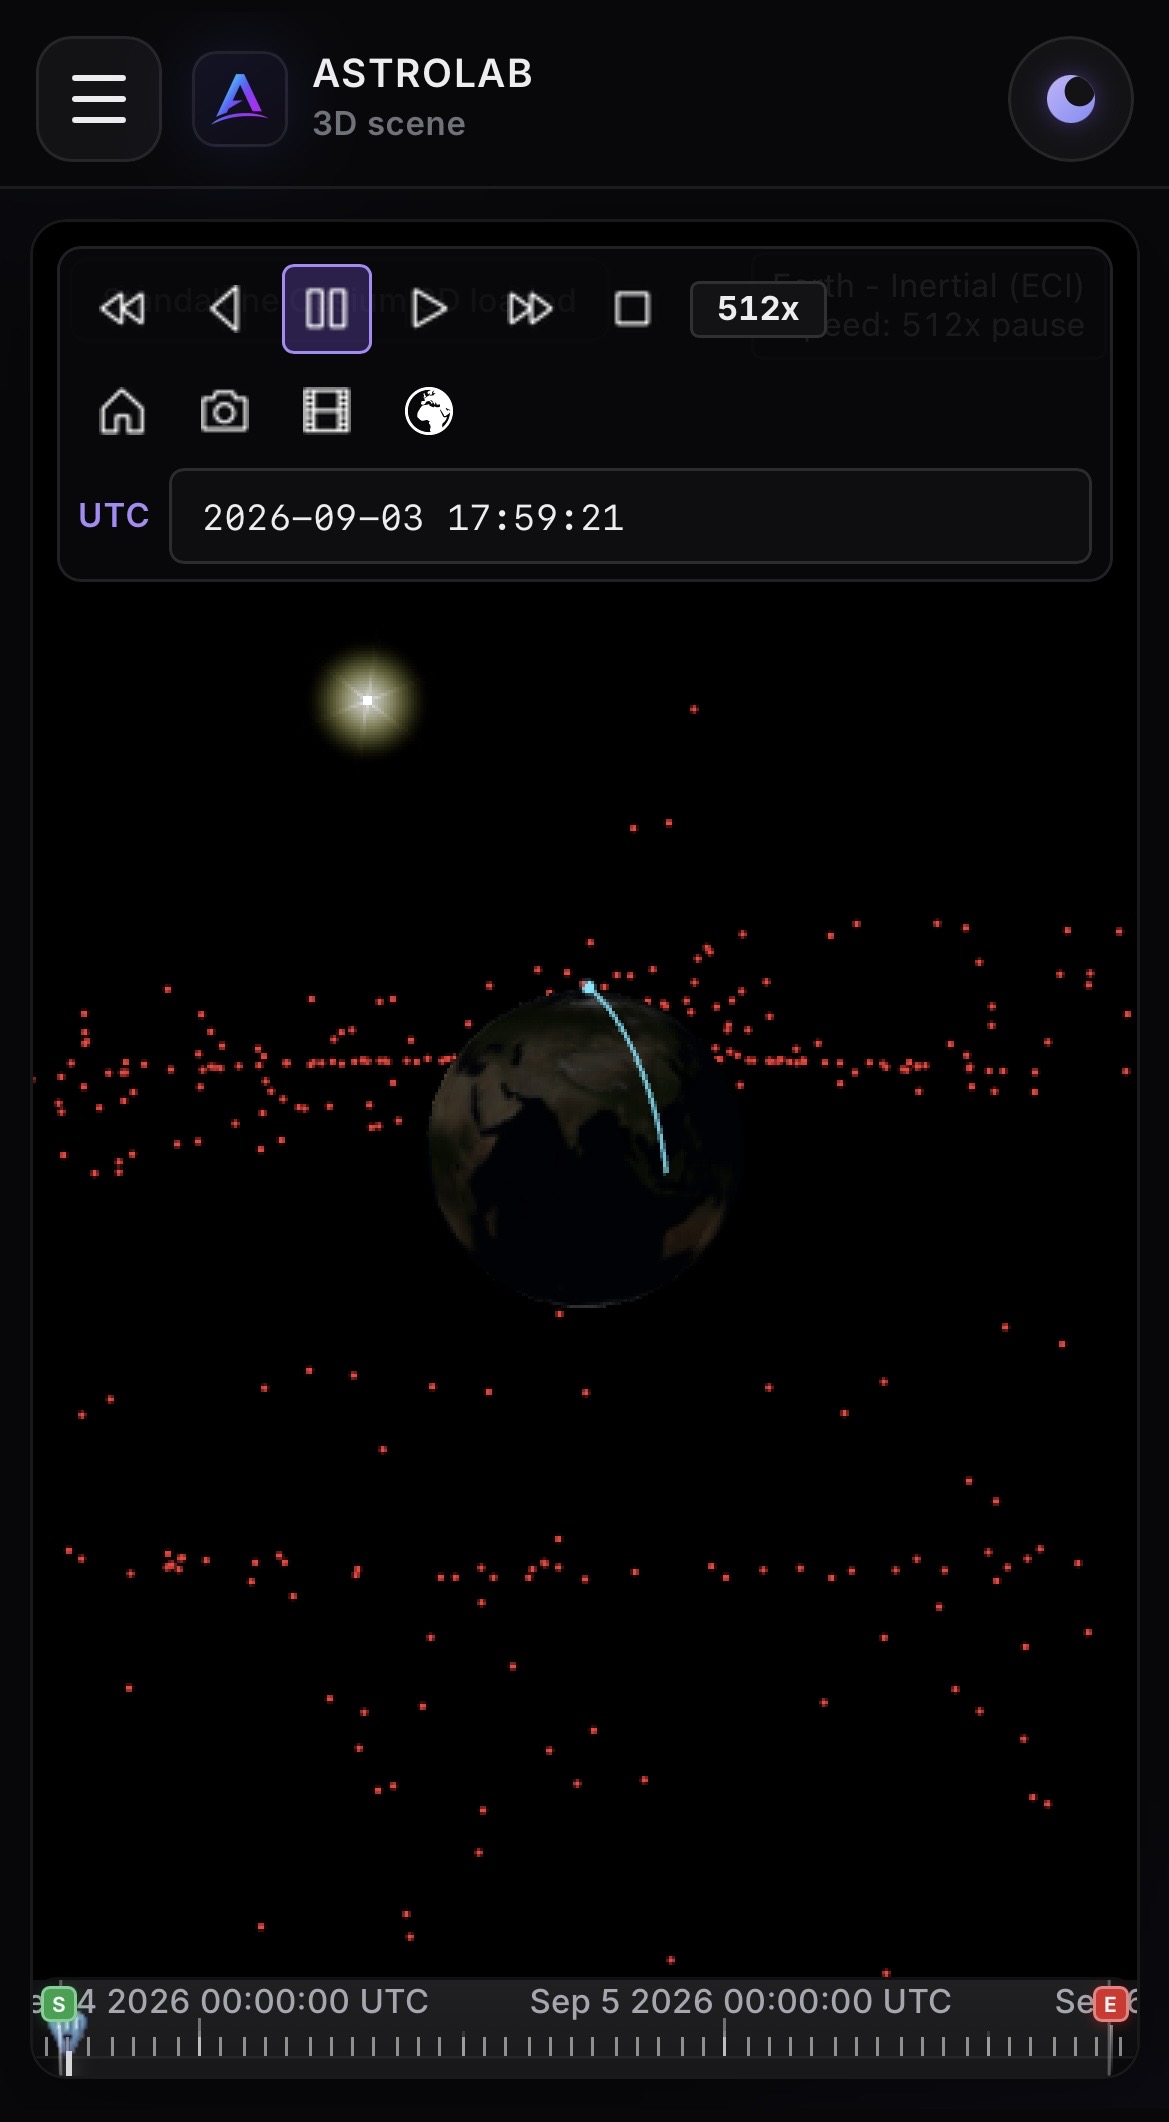
Phone layout — 3D scene with playback and hamburger navigation.
Details: Mobile and tablet.
Scene, time, and Dashboard
- Apply Changes on an asset or the scenario updates the globe. You do not need a separate “refresh” for that edit.
- Playback follows scenario time (play, pause, speed, UTC).
- The toolbar switches 3D and 2D (map). The mode is remembered in the browser.
- Dashboard generates ReportGraph plots and tables from the current mission. Trial can view results in the app; file export of reports is on paid plans.
Scene controls: 3D / 2D scene. Reporting: Reporting.
Where missions are stored
| Store | Use it when |
|---|---|
| Cloud library | Day-to-day Web work. Open, save, and delete from the Engineering Portal, within your plan quota. |
.astrolab file |
Backup, Desktop exchange, or sending a mission to a colleague. Top bar Export / Open. |
Cloud missions belong to your signed-in account. Do not treat the browser tab as the only copy of important work — save to the library, and export .astrolab when you need a file.
Typical Web session
flowchart LR
  Sign["Sign in"] --> Tree["Edit tree"]
  Tree --> Apply["Apply Changes"]
  Apply --> Scene["Inspect 3D / 2D"]
  Scene --> Run["Run analysis"]
  Run --> Dash["Dashboard"]
Dash --> Save["Save cloud or export"]- Sign in and open a cloud mission (or create one).
- Set the scenario, add a spacecraft, Apply Changes, confirm the trajectory.
- Add sensors, ground assets, or analyses as needed.
- Open Dashboard for plots and reports.
- Save to the cloud library; Export
.astrolabif you will continue on Desktop.
Walkthrough: Create your first mission. Next study: LEO Optical Satellite.