Desktop
ASTROLAB on your workstation
The Desktop application is the native ASTROLAB workspace: Mission Tree, property editors, analysis dialogs, and Mission Viewer windows. Analyses run locally on your machine. The mission document is the same as on Web — you can move work with a .astrolab file.
If you are evaluating ASTROLAB in a browser, start with the Web application instead. Desktop is for organisations that have received the native installer from STELLOR.
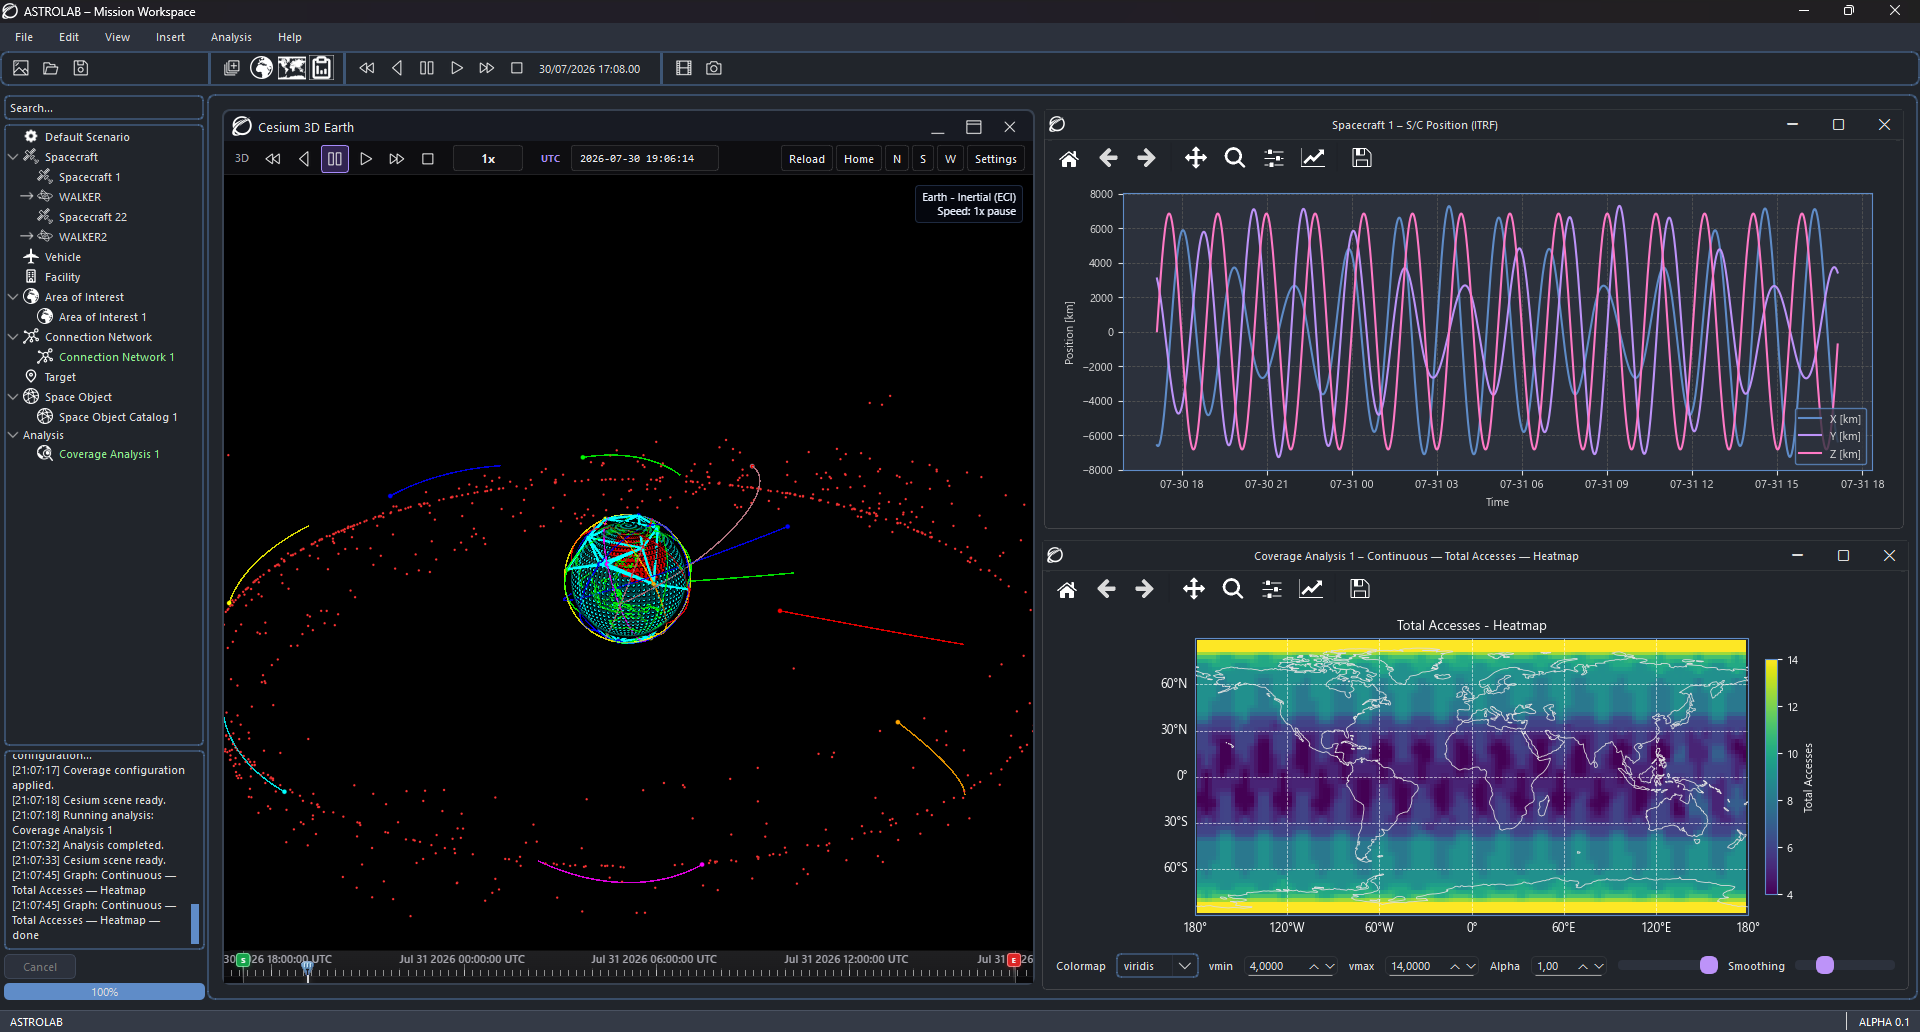
Desktop Mission Workspace — tree, Cesium viewer, plots, and coverage results on the same screen.
When Desktop is the right host
- Long interactive analysis sessions on a dedicated workstation
- Work without a network connection (once the application is installed)
- Keeping mission files on disk, under your own backup policy
- Workflows and editors that your team already uses on the native application
Web remains the right host for Trial access, the cloud library, and opening the same mission from any computer.
What matches the Web
| Concept | On Desktop |
|---|---|
| Mission | Scenario + assets — same document model |
| Mission Tree | Parent / child structure; right-click to add, remove, and run analyses |
| Properties | Edit the selected item, then Apply Changes |
| Scene | 3D globe or 2D map in Mission Viewer windows (same visualisation as Web) |
| Analyses | Same catalogue: coverage, link, power, lifetime, station keeping, and the rest |
| File exchange | .astrolab (and legacy JSON where still supported) |
The daily loop is the same as on Web: configure → Apply → inspect the scene → run analyses → inspect reports.
Typical Desktop session
- Create or open a mission (
.astrolab). - Set the scenario window and time step; apply if the header is dirty.
- Add spacecraft and other assets from the Mission Tree. Use the orbit wizard when you need a designed LEO, SSO, GEO, or similar state.
- Apply Changes and inspect the trajectory in the Mission Viewer. Right-click a marker to follow the spacecraft.
- Add payloads (sensor, antenna, power) and run the analyses you need.
- Review plots and reports.
- Save the
.astrolabfile. Import that file on Web if colleagues work in the browser.
New to the product? The Web walkthrough Create your first mission uses the same ideas. Then continue with LEO Optical Satellite.
flowchart LR
  Open["Open .astrolab"] --> Edit["Tree and Properties"]
  Edit --> Apply["Apply Changes"]
  Apply --> View["Mission Viewer"]
  View --> Run["Run analyses"]
Run --> Save["Save .astrolab"]Installation
STELLOR provides the Desktop application to licensed teams. Use the installer and environment package for your organisation, and confirm that the flight-dynamics runtime is available before you launch.
- There is no public download on the Web Trial page — Desktop is issued by STELLOR.
- Prefer
.astrolabfor backup and for sending missions to Web users, soformat_versionand asset schemas stay aligned. - Questions on install or licence: Contact STELLOR.
Exchange with Web
Export from Desktop, import on astrolab.stellor.space, and keep working in the cloud library — or the reverse. Steps: Platforms overview.